cs193p – Project #1 Assignment #1 Task #5

Please note, this blog entry is from a previous course. You might want to check out the current one.

Add a C button that clears everything (your display, the new UILabel you added above, etc.). The Calculator should be in the same state as it is at application startup after you touch this new button.

Add an additional row of buttons, one with the label “C” and the rest without labels. It is easiest to remove all autolayout constraints and rebuild them similar to the lecture.
Continue reading “cs193p – Project #1 Assignment #1 Task #5”
FacebooktwitterredditpinterestlinkedintumblrmailFacebooktwitterredditpinterestlinkedintumblrmail

cs193p – Project #1 Assignment #1 Task #4

Please note, this blog entry is from a previous course. You might want to check out the current one.

Add a UILabel to your UI which shows a history of every operand and operation input by the user. Place it at an appropriate location in your UI.

Add the UILabel at the top of the Storyboard, align it with the left and top guard and resize it to the right hand side guard. Align the display label with the bottom of the new label and remove its top constraint. Add a vertical constraint between the labels, and the missing suggested constraints for the new label. Finally repair the changed constraints for the buttons allowing to “move” their frames.
Continue reading “cs193p – Project #1 Assignment #1 Task #4”

FacebooktwitterredditpinterestlinkedintumblrmailFacebooktwitterredditpinterestlinkedintumblrmail

cs193p – Project #1 Assignment #1 Task #3

Please note, this blog entry is from a previous course. You might want to check out the current one.

Add the following operations to your Calculator:
a. sin: calculates the sine of the top operand on the stack
b. cos: calculates the cosine of the top operand on the stack
c. π: calculates (well, conjures up) the value of π. For example, 3 π × should put three times the value of π into the display on your calculator. Ditto 3 ↲ π x and also π 3 ×.

Change the empty labels of the three buttons on the right hand side to “sin”, “cos” and “pi”:
Continue reading “cs193p – Project #1 Assignment #1 Task #3”

FacebooktwitterredditpinterestlinkedintumblrmailFacebooktwitterredditpinterestlinkedintumblrmail

cs193p – Project #1 Assignment #1 Task #2

Please note, this blog entry is from a previous course. You might want to check out the current one.

Your calculator already works with floating point numbers (e.g. if you touch 3 ↲ 4 ÷, it will properly show 0.75), however, there is no way for the user to enter a floating point number directly. Fix this by allowing legal floating point numbers to be entered (e.g. “192.168.0.1” is not a legal floating point number!). You will have to add a new “.” button to your Calculator. Don’t worry too much about precision or significant digits in this assignment.

In Storyboard change the currently blank label of the bottom left button to “.”:
Continue reading “cs193p – Project #1 Assignment #1 Task #2”

FacebooktwitterredditpinterestlinkedintumblrmailFacebooktwitterredditpinterestlinkedintumblrmail

cs193p – Project #1 Assignment #1 Task #1

Please note, this blog entry is from a previous course. You might want to check out the current one.

Get the Calculator working as demonstrated in lectures 1 and 2. The Autolayout portion at the end of the lecture is extra credit, but give it a try because getting good at autolayout requires experience. If you do not do autolayout, be sure to position everything so that it is visible on all iPhones (i.e. the upper left corner of the scene).

I finished this task already during the lectures, including lecture #3. For convenience sake (mostly mine) I will base the follow tasks on the code from the end of lecture #3.

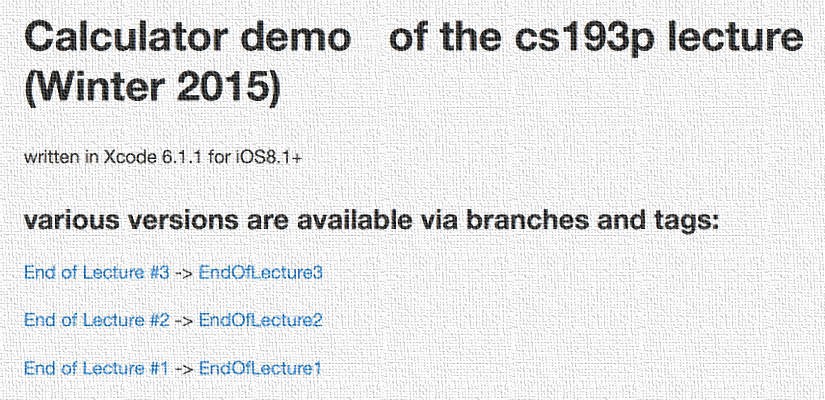
The complete code for the task #1 (different branches for end of lectures #1, #2 and #3) is available on GitHub.

FacebooktwitterredditpinterestlinkedintumblrmailFacebooktwitterredditpinterestlinkedintumblrmail

cs193p – Project #1 Reading Assignment

Please note, this blog entry is from a previous course. You might want to check out the current one.

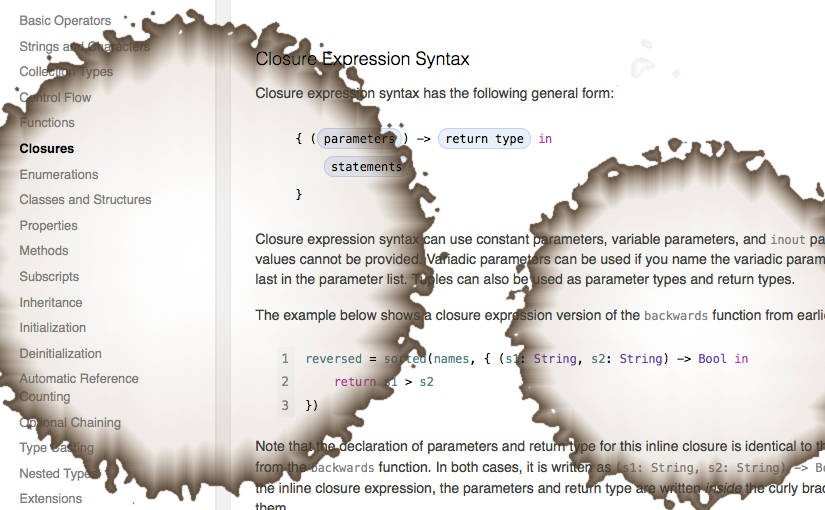
The first part of the first project is an reading assignment of the Swift Programming Language.

The following sections are very important and need to be read very carefully:

Continue reading “cs193p – Project #1 Reading Assignment”

FacebooktwitterredditpinterestlinkedintumblrmailFacebooktwitterredditpinterestlinkedintumblrmail

cs193p – Lecture #3 – Applying MVC

Please note, this blog entry is from a previous course. You might want to check out the current one.

Lecture #3 continues the calculator demonstration, adding the model to the MVC pattern. In addition he shows how to use

  • enums,
  • simple initializers,
  • returning optionals,
  • dictionaries,
  • and tuples.

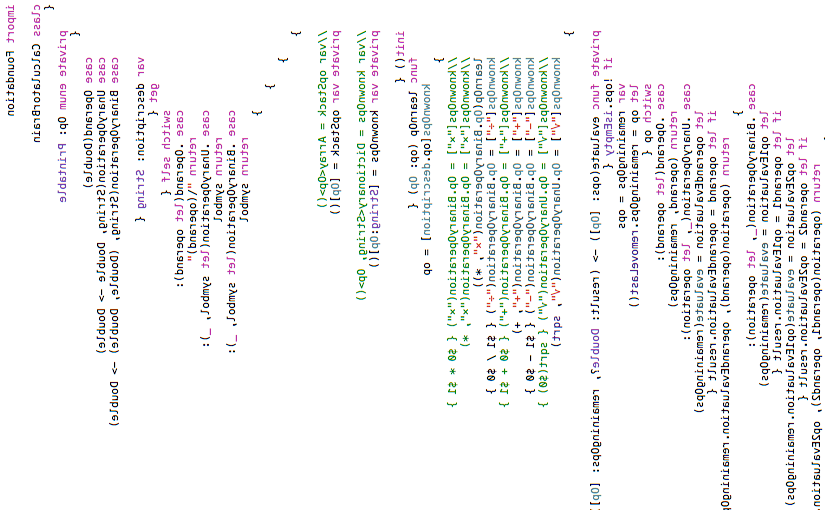
The lecture is available via iTunes named “3. Applying MVC”. The code for the demo is available on GitHub.

FacebooktwitterredditpinterestlinkedintumblrmailFacebooktwitterredditpinterestlinkedintumblrmail