cs193p – Assignment #2 Extra Task #3

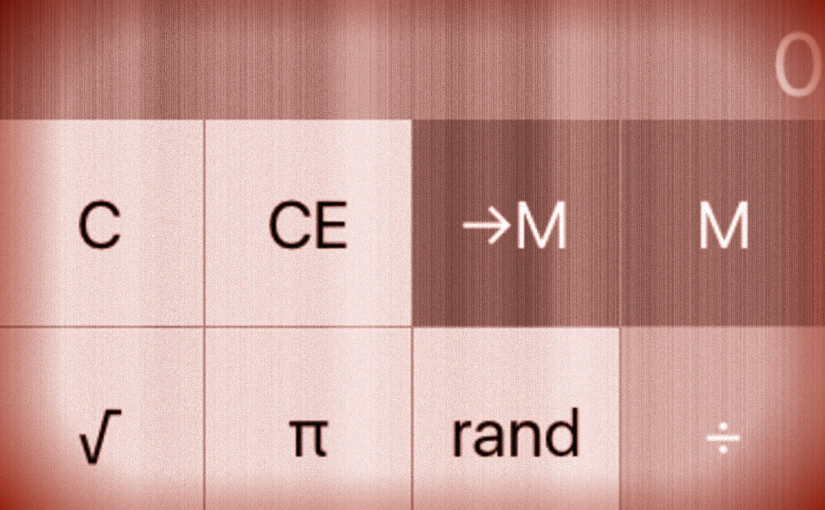
Create a launch screen for your Calculator in LaunchScreen.storyboard.Remember that you will want to use some simple autolayout to make your launch screen look good on all platforms.

Feeling lazy, I just copied the elements from the story board into the launch screen:
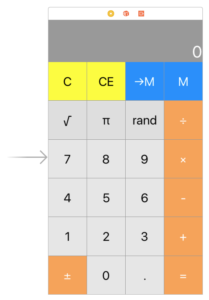
cs193p-assignment-2-extra-task-3-winter-2017-launchscreen

The complete code for the assignment #2 extra task #3 is available on GitHub.
FacebooktwitterredditpinterestlinkedintumblrmailFacebooktwitterredditpinterestlinkedintumblrmail

cs193p – Assignment #2 Extra Task #2

Add app icons to your Assets.xcassets file (which we moved to Supporting Files in Lecture 1). The only trick here is to provide versions of your icon in all the right sizes.

Create a nice icon and add them by drag and drop to your assets. You will need the following sizes:

  • 20×20 pixels
  • 29×29 pixels
  • 40×40 pixels
  • 58×58 pixels
  • 60×60 pixels
  • 76×76 pixels
  • 80×80 pixels
  • 87×87 pixels
  • 120×120 pixels
  • 152×152 pixels
  • 167×167 pixels
  • 180×180 pixels

cs193p-assignment-2-extra-task-2-winter-2017-icon

The complete code for the assignment #2 extra task #2 is available on GitHub.

FacebooktwitterredditpinterestlinkedintumblrmailFacebooktwitterredditpinterestlinkedintumblrmail

cs193p – Assignment #2 Extra Task #1

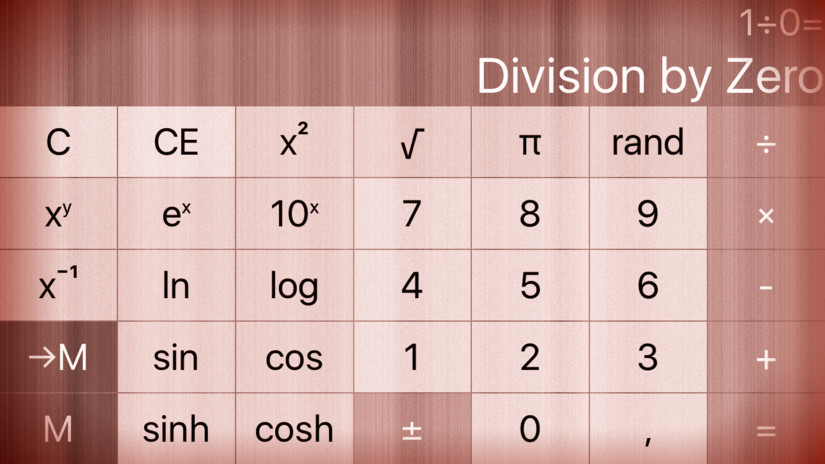
Have your calculator report errors. For example, the square root of a negative number or divide by zero. There are a number of ways to go about “detecting” these errors (maybe add an associated value to the unary/binaryOperation cases which is a function that detects an error or perhaps have the function that is associated with a unary/binaryOperation return something that is either an error or a result or ???). How you report any discovered errors back to users of the CalculatorBrain API will require some API design on your part, but don’t force users of the CalculatorBrain API to deal with errors if they don’t want to (i.e. allow Controllers that want to display errors to do so, but let those that don’t just deal with NaN and +∞ appearing in their UI). In other words, don’t break any callers of the API described above (who don’t care about errors) to support this feature (i.e., add methods/ properties as needed instead). You are allowed to violate Required Task 11 to implement this Extra Credit item, but not Required Task 1 (you can enhance that data structure, but not switch to a new one).

Continue reading “cs193p – Assignment #2 Extra Task #1”

FacebooktwitterredditpinterestlinkedintumblrmailFacebooktwitterredditpinterestlinkedintumblrmail

cs193p – Assignment #2 Task #10

Add an Undo button to your Calculator. In Assignment 1’s Extra Credit, you might have added a “backspace” button. Here we’re talking about combining both backspace and actual undo into a single button. If the user is in the middle of entering a number, this Undo button should be backspace. When the user is not in the middle of entering a number, it should undo the last thing that was done in the CalculatorBrain. Do not undo the storing of M’s value (but DO undo the setting of a variable as an operand).

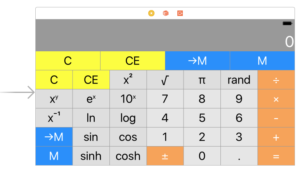
Rename the backspace button in the storyboard:
cs193p-assignment-2-task-10-winter-2017-storyboard
Continue reading “cs193p – Assignment #2 Task #10”

FacebooktwitterredditpinterestlinkedintumblrmailFacebooktwitterredditpinterestlinkedintumblrmail

cs193p – Assignment #2 Task #9

Make sure your C button from Assignment 1 works properly in this assignment. In addition, it should discard the Dictionary it was using for the M variable (it should not set M to zero or any other value, just stop using that Dictionary until →M is pressed again). This will allow you to test the case of an “unset” variable.

… sorry, done that already …

FacebooktwitterredditpinterestlinkedintumblrmailFacebooktwitterredditpinterestlinkedintumblrmail

cs193p – Assignment #2 Task #8

Show the value of M (if set) in your UI somewhere.

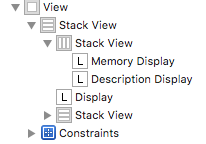
Start by adding a new label to your storyboard. I put it into a new horizontal stack with the description display and increased the content hugging of the new label so that it only takes the necessary space:
cs193p-assignment-2-task-8-winter-2017-storyboard

Create an outlet for the new label in the view controller:

@IBOutlet weak var memoryDisplay: UILabel!

Continue reading “cs193p – Assignment #2 Task #8”

FacebooktwitterredditpinterestlinkedintumblrmailFacebooktwitterredditpinterestlinkedintumblrmail

cs193p – Assignment #2 Task #7

Add two new buttons to your Calculator’s UI: →M and M. Don’t sacrifice any of the required operation buttons from Assignment 1 to add these (though you may add yet more operations buttons if you want). These two buttons will set and get (respectively) a variable in the CalculatorBrain called M.
a. →M calls evaluate in your Model with a Dictionary which has a single entry whose key is M and whose value is the current value of the display, and then updates the display to show the result that comes back from evaluate. Until this button (or the clear button) is pressed again, this same Dictionary should be used every time evaluate is called.
b. →M does not perform setOperand.
c. Touching M should setOperand(variable: “M”) in the brain and then show the
result of calling evaluate in the display.
d. →M and M are Controller mechanics, not Model mechanics (though they both use
the Model mechanic of variables).
e. This is not a very great “memory” button on our Calculator, but it can be used for testing whether our variable function implemented in our Model is working properly. Examples …
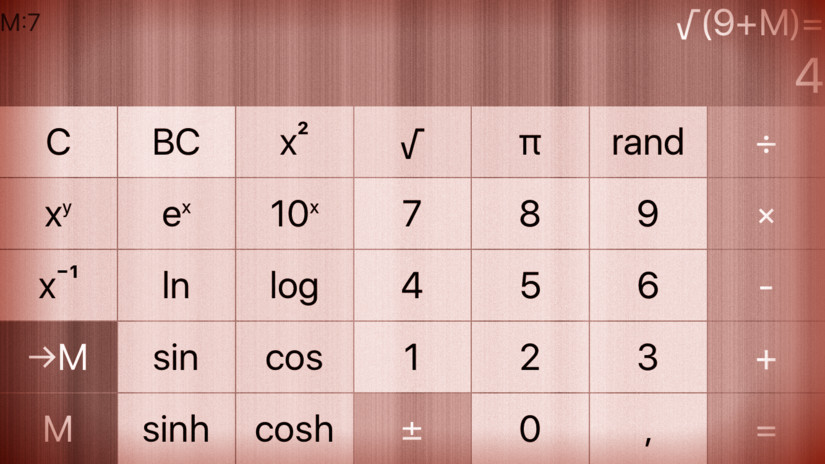
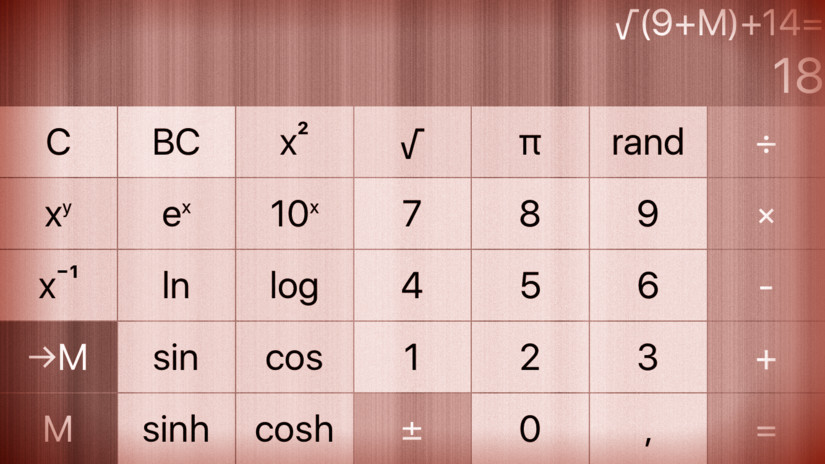
9 + M = √ ⇒ description is √(9+M), display is 3 because M is not set (thus 0.0).
7 →M ⇒ display now shows 4 (the square root of 16), description is still √(9+M) + 14 = ⇒ display now shows 18, description is now √(9+M)+14

Continue reading “cs193p – Assignment #2 Task #7”

FacebooktwitterredditpinterestlinkedintumblrmailFacebooktwitterredditpinterestlinkedintumblrmail